![]() Home |
The Boat |
First Mate
|
Admiral |
Guestbook
Home |
The Boat |
First Mate
|
Admiral |
Guestbook
Date: 30 December 2014. Building a Locker (Part 2)
© janice142
[Posted late due to bandwidth issues.]
Well, the canning locker aboard Seaweed is complete however I must admit I am less than satisfied by the results. It is done however there is definitely room for improvement. Let me tell you what I did wrong, and what could have been better. Still, know this:
The locker is
in use and useful. Though not perfect, it is definitely Good Enough.
This all began in early December when I opened a kitty litter container and discovered the canning jars I'd stored in there had been damaged by condensation. The particulars can be found in the Building a Locker (Part 1) article.
After much thought, multiple measurements and the like, I had come up with the plan for the canning goods locker. It would be 12" deep, span the width between the dinette benches and nearly as tall as the table it would fit under. Here are my original notes:

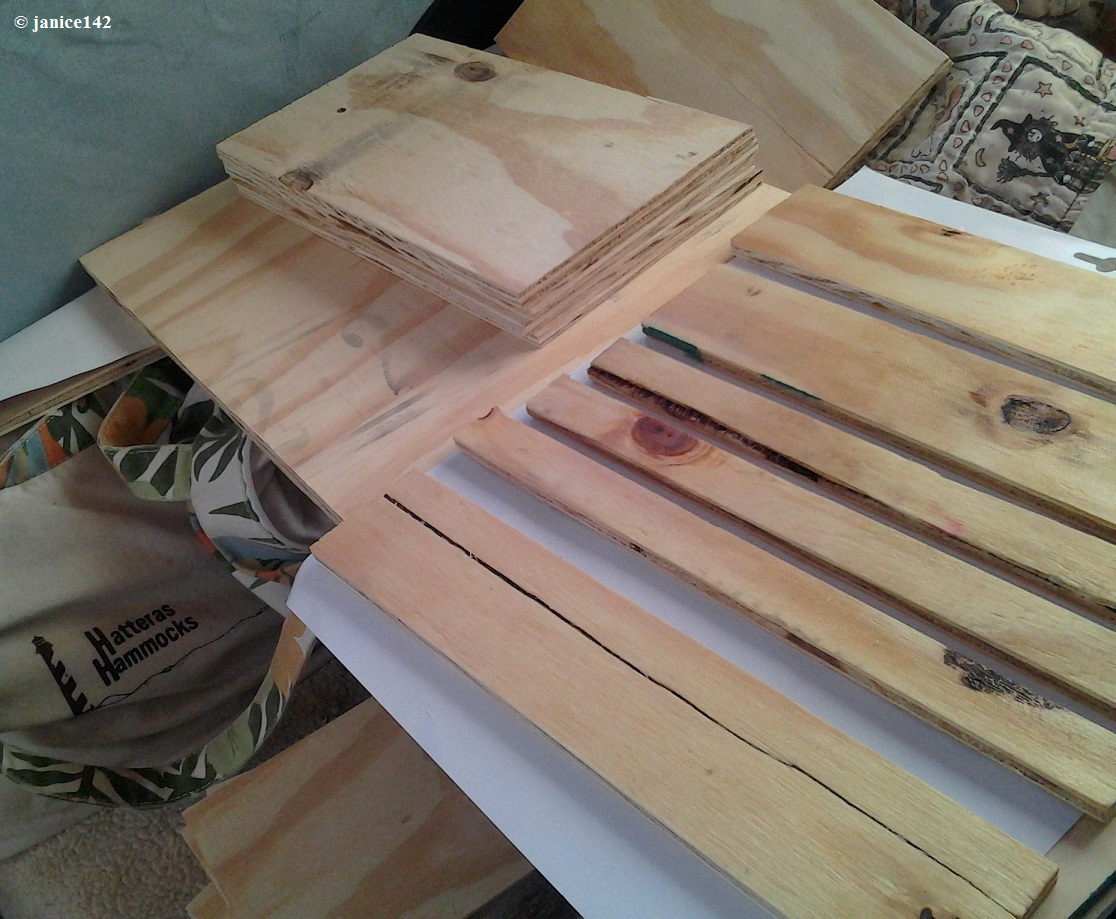
Cutting up the sheet of plywood was a given. I would need to haul the pieces back to Seaweed and there is no way I could physically carry a 4x8 sheet of plywood. First however a walk over to the local ACE Hardware was required so I could pay for it.
On the way, just leaving the bank was a local friend, George. We chatted and I told him my intention. He volunteered to cut the wood for me, provided we could get it cut small enough to fit into his car. Excellent. George has a table saw so I knew the cuts would be far better than mine (with a jig saw) would be.
The dimensions were on my 3x5" card, so I was all set. Having George cut the wood meant the locker would fit together without issue. Frankly, my cutting is not spectacular so this was a real boon to me.
It looks like shortly I will have a spiffy new
locker! I need to celebrate with a Woody Woodpecker cup of coffee.

At ACE, the sheet was cut into strips about 24" wide. The four slices fit into George's trunk. We headed over to his workshop where I was delighted to see Pat. She is a gem (George's better half) and gave me my newest Aphorisms file addition. And quite frankly, this one sure rings a bell with me of late...
I'm old, I'm
cold and I want to go home. Pat in Carrabelle.
The next day George brought me by my new locker. Some assembly required:
|
Before the "work" begins... |
|
|
Even though I
had purchased
the better of the two grades of ply sold at ACE there was a
bit of preparation required.
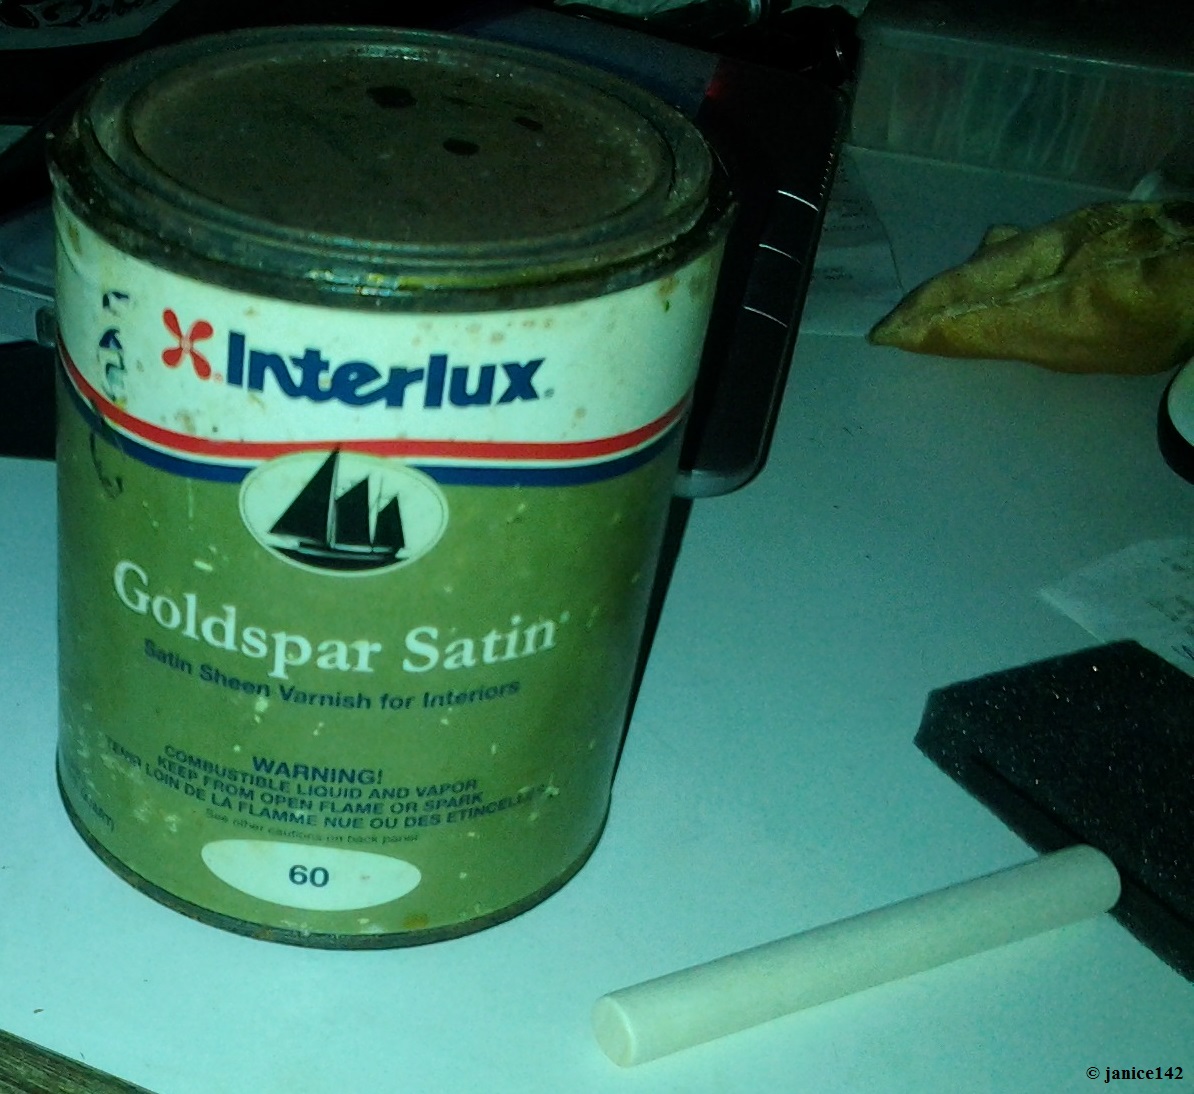
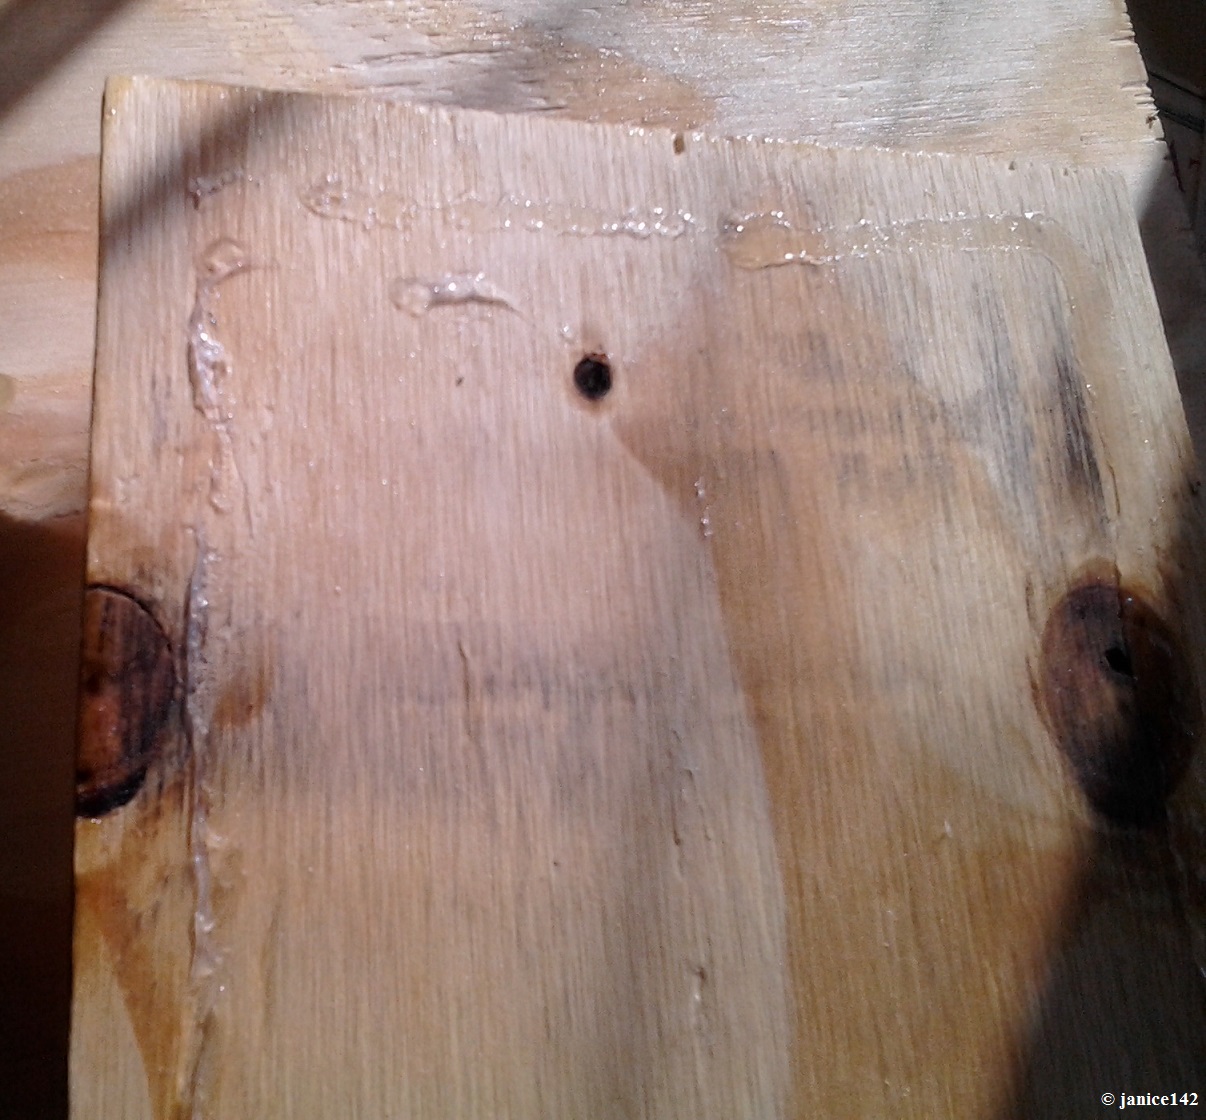
First I wanted to protect
the plywood. That means varnish. Ship's stores did me well. I
had less than half a quart of
Interlux Varnish Goldspar Satin Quart |
 |
From the scraps, I knew I wanted to make feet/legs for my locker. Having it set directly on the sole would have been a bad idea. I wanted air circulation. Additionally the aesthetics required a bit of a furniture look to the locker. Adhesive, specifically the GE Silicone Glue was used to adhere the pieces together. This step was to aid stability before the stainless wood screws were added. |
|
 |
 |
The first step was to begin building. Because I did not want to take the dinette table top off I opted to build in place, one shelf at a time. This all sounds logical and it sort-of works. Almost.
|
After placing the legs at the bottom I screwed them in place. The width, 26" meant that three would be required to support the items on that shelf.
|
I had shorter pieces (this one is 6.5" by 12") cut to support the upper shelves. You can see one of them in the next picture. A bit of the GE Silicone Glue and a couple of screws held it all together.
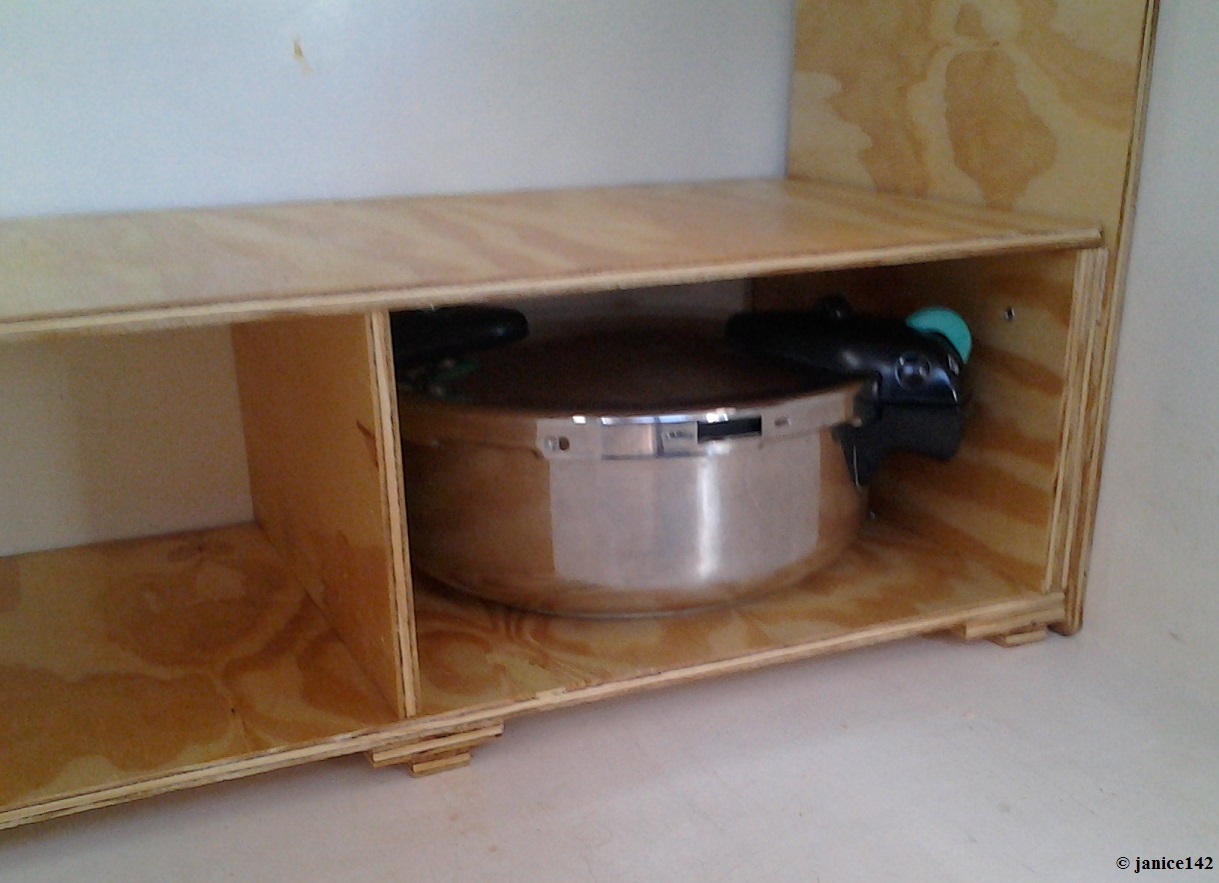
I wanted short shelves. Specifically I want to be able to stack my canning jars two high. The bottom shelf would be a bit higher to accommodate my pressure cooker and associated gear used when preserving foods. |
|
Articles on canning can be found here: |
|


The bottom corner of my locker now fits my pressure
cooker.
While I wallowed in my happiness as the first shelf went in so well, that was the last thing to go well until completion of the project. The gosh darn boat is narrower at the bulkhead than where I measured out by the passageway. Additionally, nothing (not a thing!) is square -- nor even close.
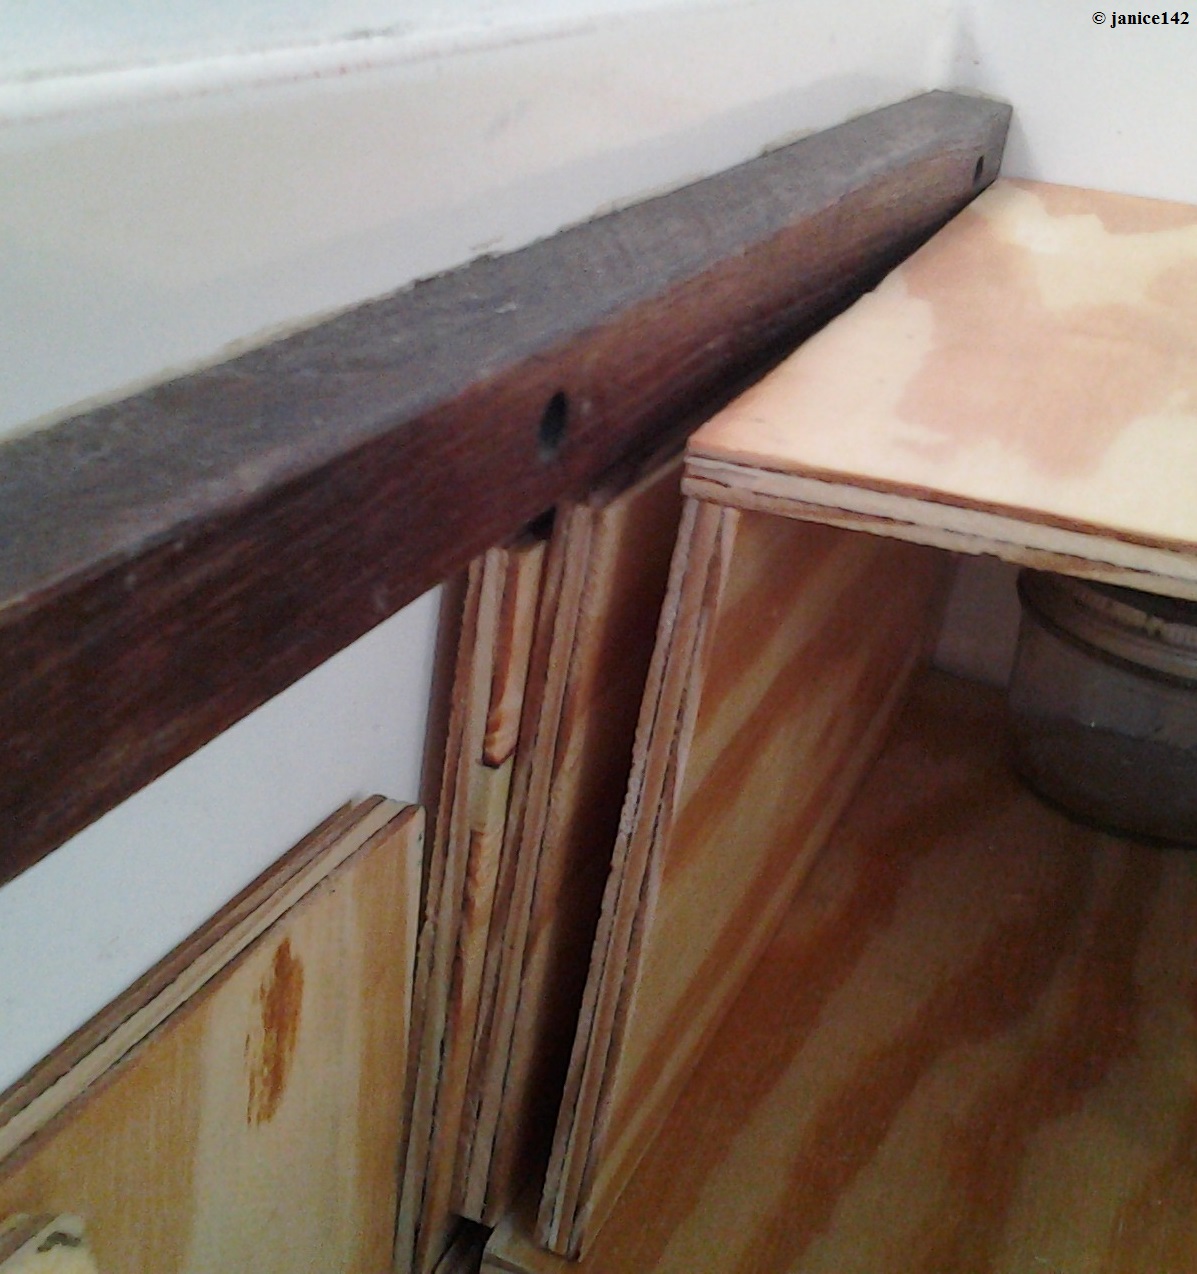 |
Not a doggone thing was
near to fitting after that initial success with the bottom
layer. With a bit of fudging (quite a bit!) I made it
all work. You can see how far off things were in these two
pictures.
This was an exercise in frustration -- |

She is a boat and stuff goes wrong.
Fixing it is a matter of perseverance.
I ended up adding extra boards to the sides to provide support for the upper layers. The sides are not square -- they lean out. It is wrong, but unless you look dead-on, you should not notice. Eventually I will do one of two things:
Take apart the locker I built and remake it as a solid piece of furniture. That unit I can bolt to the bulkhead so it will not move in a seaway.
OR
Find an already built solid wood cabinet that will fit in the space and buy it. I can add shelves as needed and where required. It will be important to measure the height I need. Dead head space is wasted storage capacity.
Given a preference quite frankly I prefer Number Two. I am demonstrably not good at mitering corners and would of course like a locker that can be viewed without me cringing.
Although not perfectly organized, my medicine locker
does look nice and serve the purpose.

The plastic keeps everything in that locker when the door is opened.
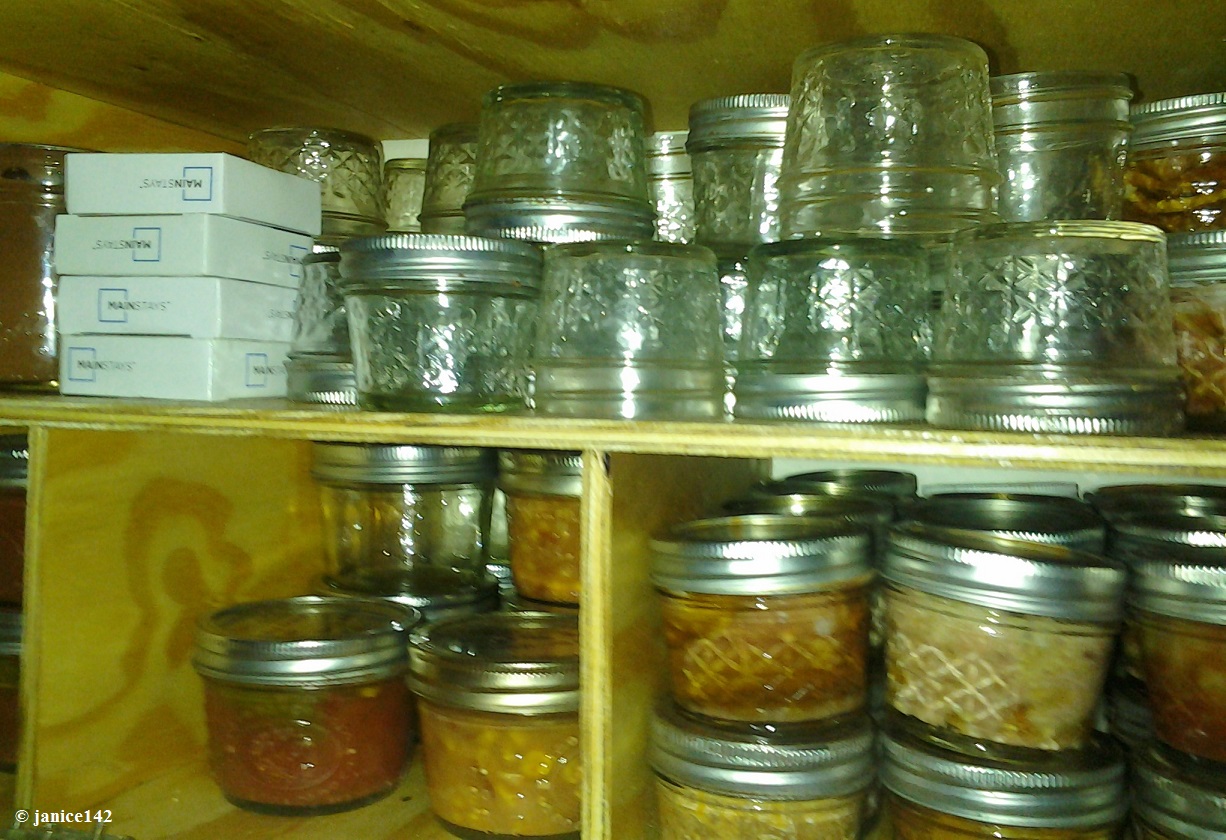
The inside of my canning locker is all I had hoped. My jars fit two high. After filling the new locker I found another dozen jars so it is not quite as tidy at present as I hoped. It will be but for now this is loaded. With a bit of effort I will be able to rearrange items and make everything sea-ready. In the meantime it is done, and that is good enough.
The problem I had upon completion is that because things were wonky (size wise) I had used the locker doors for shelves. Therefore I needed to improvise. The decision to make folding down openings versus the standard basically meant I was able to use what I had on hand. A couple of hinges attach the doors to the shelves.
There is no way to latch the things shut. Therefore I ended up using a couple of eyebolts on the sides and some string to close the doors. This will not open unless I untie the bow. Still, it looks awful. I'm only posting it because this is reality: this is not perfect and that is entirely my fault.

There is space for air flow and that should mean
condensation will not ruin my canning jars.
Although I wish the final results had been more noteworthy I do know they can (and will) be redone. For now however I have a place to store my canned foods without having to open the bilge each time I want something tasty. As for tonight, fresh food is on the menu.
Baked grouper, snow peas and some potatoes... life is good.
|
When making your own locker bear in mind the difficulties I had: |
|
George and Pat's crew Monti and Asti were fun pups. It was great
meeting them too.

To you and yours, good luck with your project. I like my canning goods locker, even with the less-than perfect results. It is definitely an improvement over what was there previously. The next time I will be able to avoid mistakes made this time. That said, I am certain there are other ways to foul up a project. I the meantime I am so grateful for the efforts George and Pat made on my behalf. Thanks!
Have you ever built a locker aboard your boat?
I'd appreciate any advice you can offer regarding my next build of this thing. Thanks!
|
Regarding the Comments Section, found at the end of every article:
|
COMMENTS:
© 2014, 2023
Categories: Characters, Galley, Gear, Locations, Pets,
Windlass is
Necessary (for me) ~
Previous Post ... ![]()
... Next Post
~
Bandwidth Blues (internet afloat)
The Archive holds a running list with synopsis of published articles, and links to same.
Every gift helps.
The Cruising Kitty is what boaters refer to as spending money. There's never enough aboard Seaweed!
I am also an Amazon Affiliate.
![]()

My Buddy, and his girlfriend...