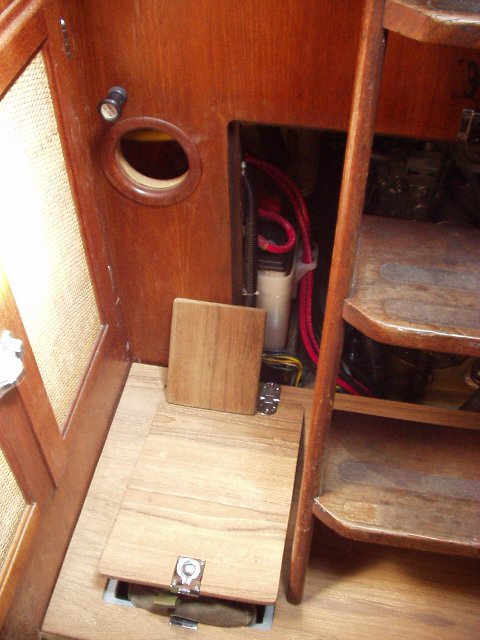
Before I started on the install, I had to do the wiring. I replaced the main switch. The teak panel is shown here.

(Note: You can click on any photo for a larger view. Then use your browsers back button to get back to this page.)
For a long time my wife Jill and I have been undecided about what windlass, if any, we wanted to have aboard Guenevere. For a LONG time we were thinking about getting a manual windlass. We were going in that direction as we thought that a manual would be more reliable. But then we heard a few stories of even manual windlass going bad.
I think the deciding factor came from a LOT of reading about boats out there. It seems that a LOT of the books had at least one story about having to re-anchor at least a couple of times during the night when the wind was picking up and other boats were starting to drag.
Our thinking came to the idea that if we went manual, we might wait before we started to reanchor. Or, we might be exhausted if we had to do a re-anchor a number of time during a few hours.....
The next, and final thing that swung us over to a power windlass, (not counting our age) is that the one we bought has a manual mode! If the motor stops, we can put on a handle and it now works as a manual unit!
So, here is the install we did....
Before I started on the install, I had to do the wiring. I
replaced the main switch. The teak panel is shown here.
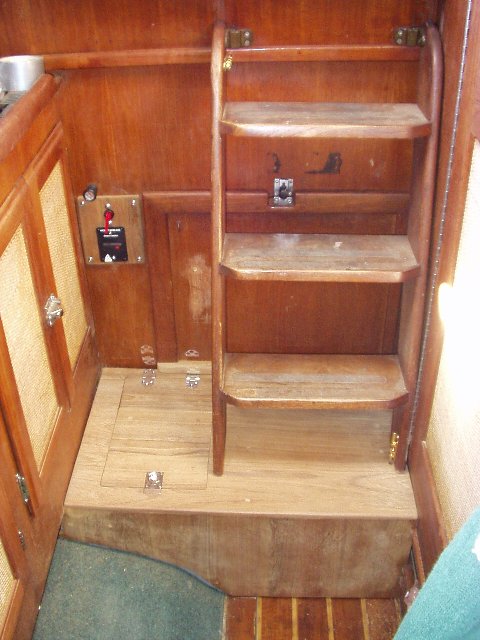
I made a new switch plate and installed the windlass circuit
breaker below it. As long as I was working the wiring, I replaced the "1, 2 or
both" switch with three on/off switches. This shows the new panel in place. That
is the engine shutdown knob above it. By not putting that in the cockpit, it
lasts a lot longer. No salt water gets in to the cable.
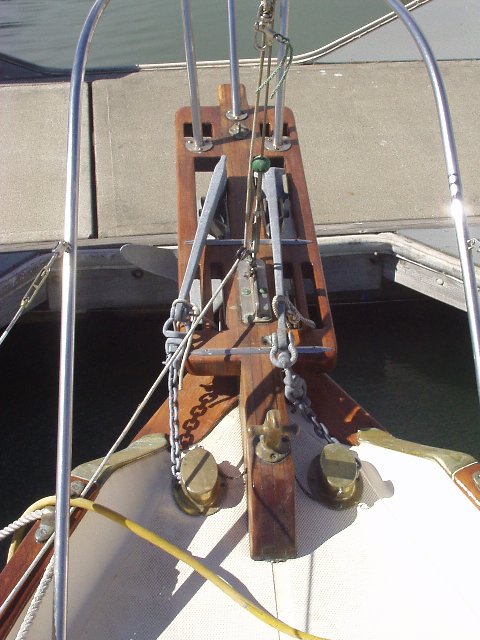
One of my main goals was to be able to keep the mooring bit.
This is how it looked before I started.
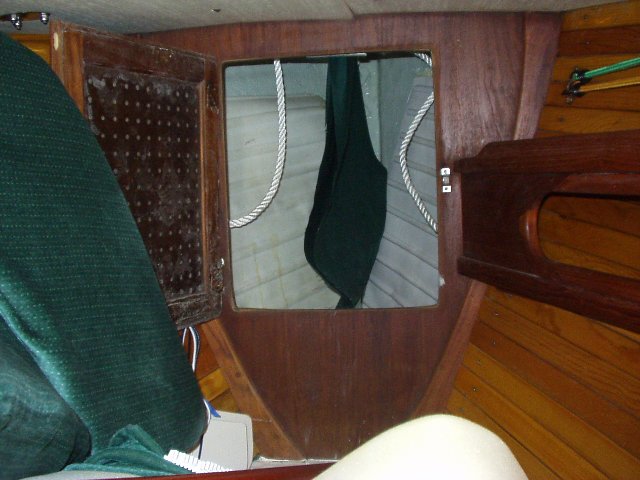
This is the inside of the anchor locker, split by sunbrella
material. I had to remove all the chain so I could put in the wiring. By the
way, I split an old fender and put it along the hull sides to protect them from
the chain.
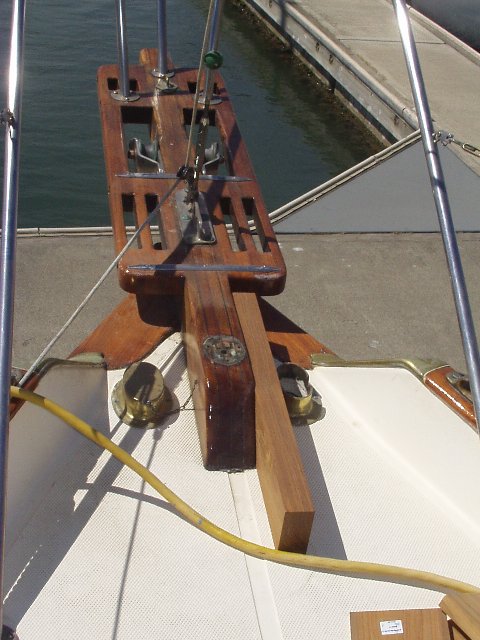
The Windlass base was wider than the old bow sprit. A view of
the teak board I have to add to install the windlass.
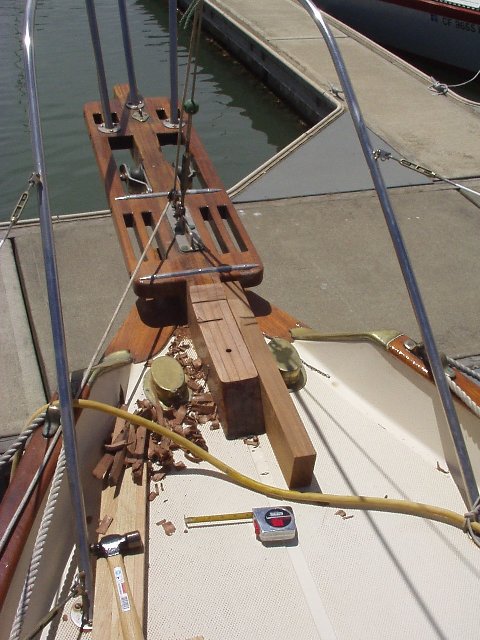
The bolts (threded rod) that came with the windlass were not
long. I had to cut down the original bow sprit so the windlass bolts would fit.
This also made it the width as the new board.
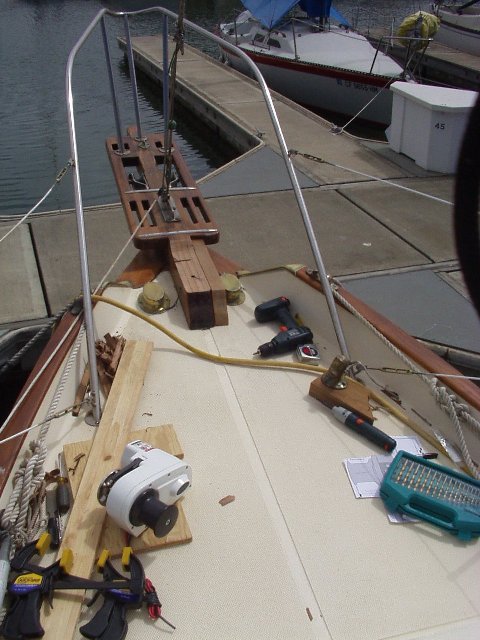
I then cut the new teak to fit next to the old sprit.
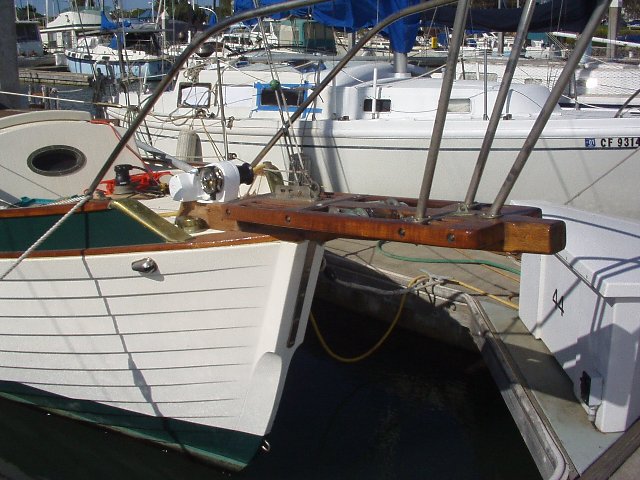
This is a view of the windlass resting in place. I would put
it in place and check the fit after every cut.
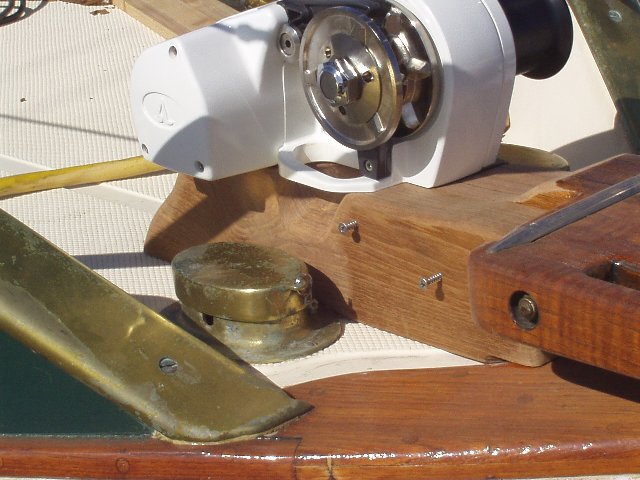
The windlass in place with the teak rough cut and in place.
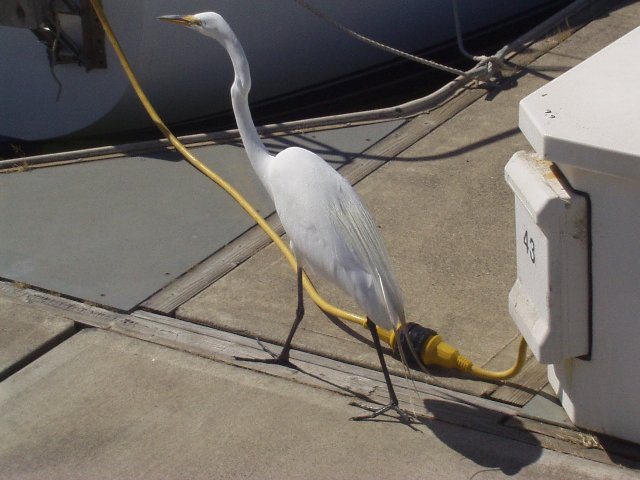
As I was installing the windlass a friend stopped by to take a
look at all the work I was doing. He then had his lunch in front of me!
Didn't even offer to share.
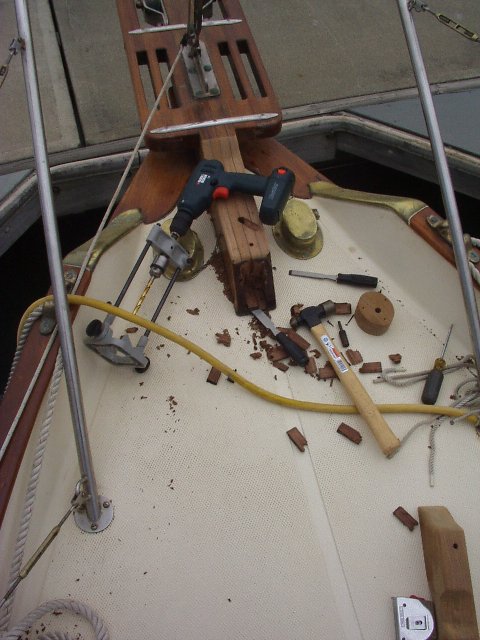
I then cut away the rear of the old sprit to allow the bit
& bit wood to fit in.
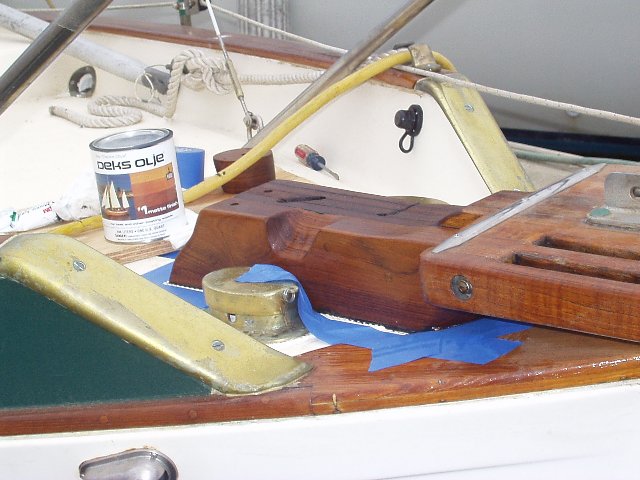
A view of the new teak in place and carved to fit. The first
coat of finish put on.
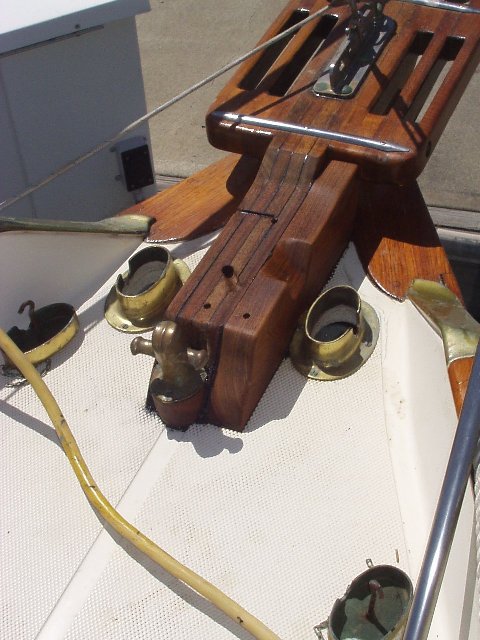
The bit in place with a lot of sealant. The dark line forward
of the port pipe is from an old fastener. The cut out in the teak board in the
Stbd. side feeds the chain into the pipe.
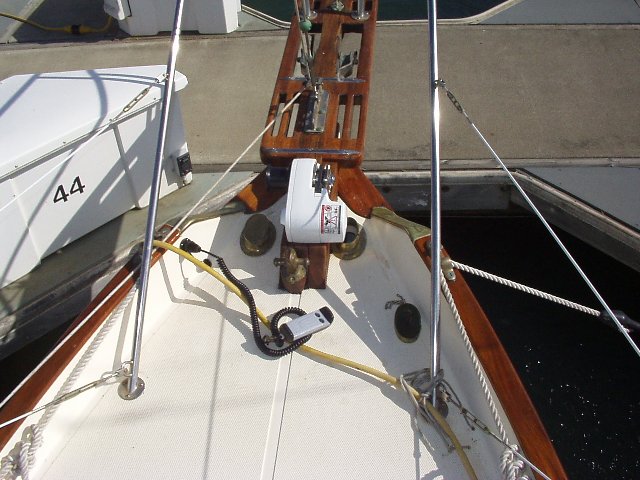
The Windlass is in place with sealant. You can also see the
fordeck control.
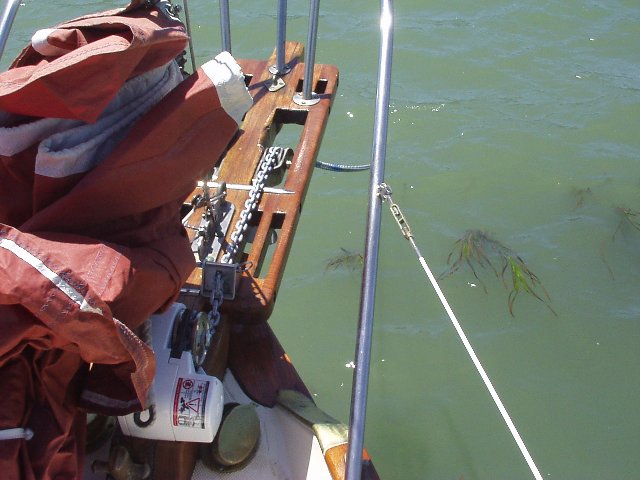
On the 4th of July 2002, we anchored at Richardson's Bay. The
pay out worked great! If you look close you can see one blue
stripe on the
chain. That means we have 66 foot down. We were in 10 foot of water +/-. We now
put out more than required (if we have the room) as it's so easy to get back in!
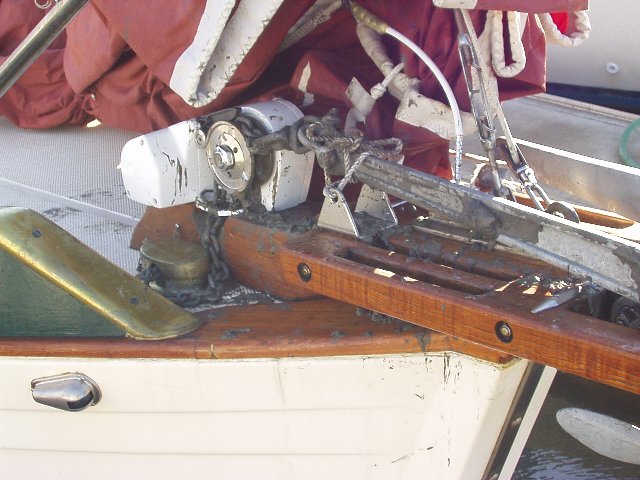
As you can see, it worked well..... ;-)
This is from
Treasure Island bottom. Another plus for the windlass, our hads were still
clean!
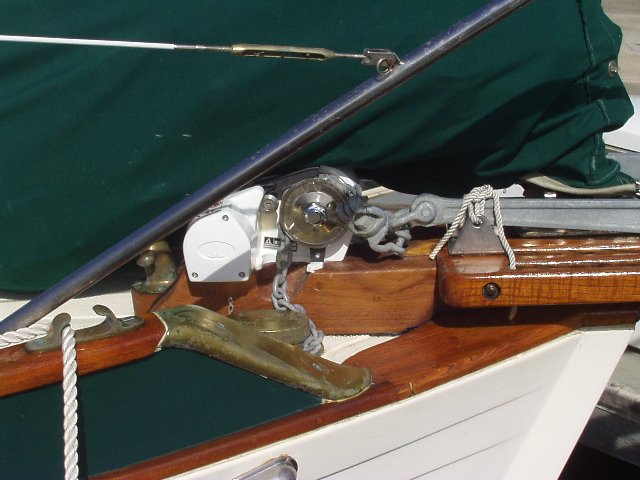
This shows the one mod I did to the windlass. If you are using
250 foot or less of chain in one half of the locker of a Nor'Sea you will not
have to remove the loop the chain goes through. Email me for details on this if
needed.
We have used it a number of times and it's working very well.