Microgreens Summary for Success (cheat sheet) © janice142
For those who have read the Microgreens Aboard Seaweed (series) this is your outline/cheat sheet. Everything on this list can be purchased at Walmart though I opted to buy both soap dishes and plastic placemats at Dollar Tree because they are less expensive there. Link: http://janice142.com/Articles/MicrogreensAboardSeaweed.html
Shopping List for growing microgreens on a small scale:
#1) Travel size soap boxes. The containers come in multiple colors. At the Dollar Tree they are either two or three to the buck.
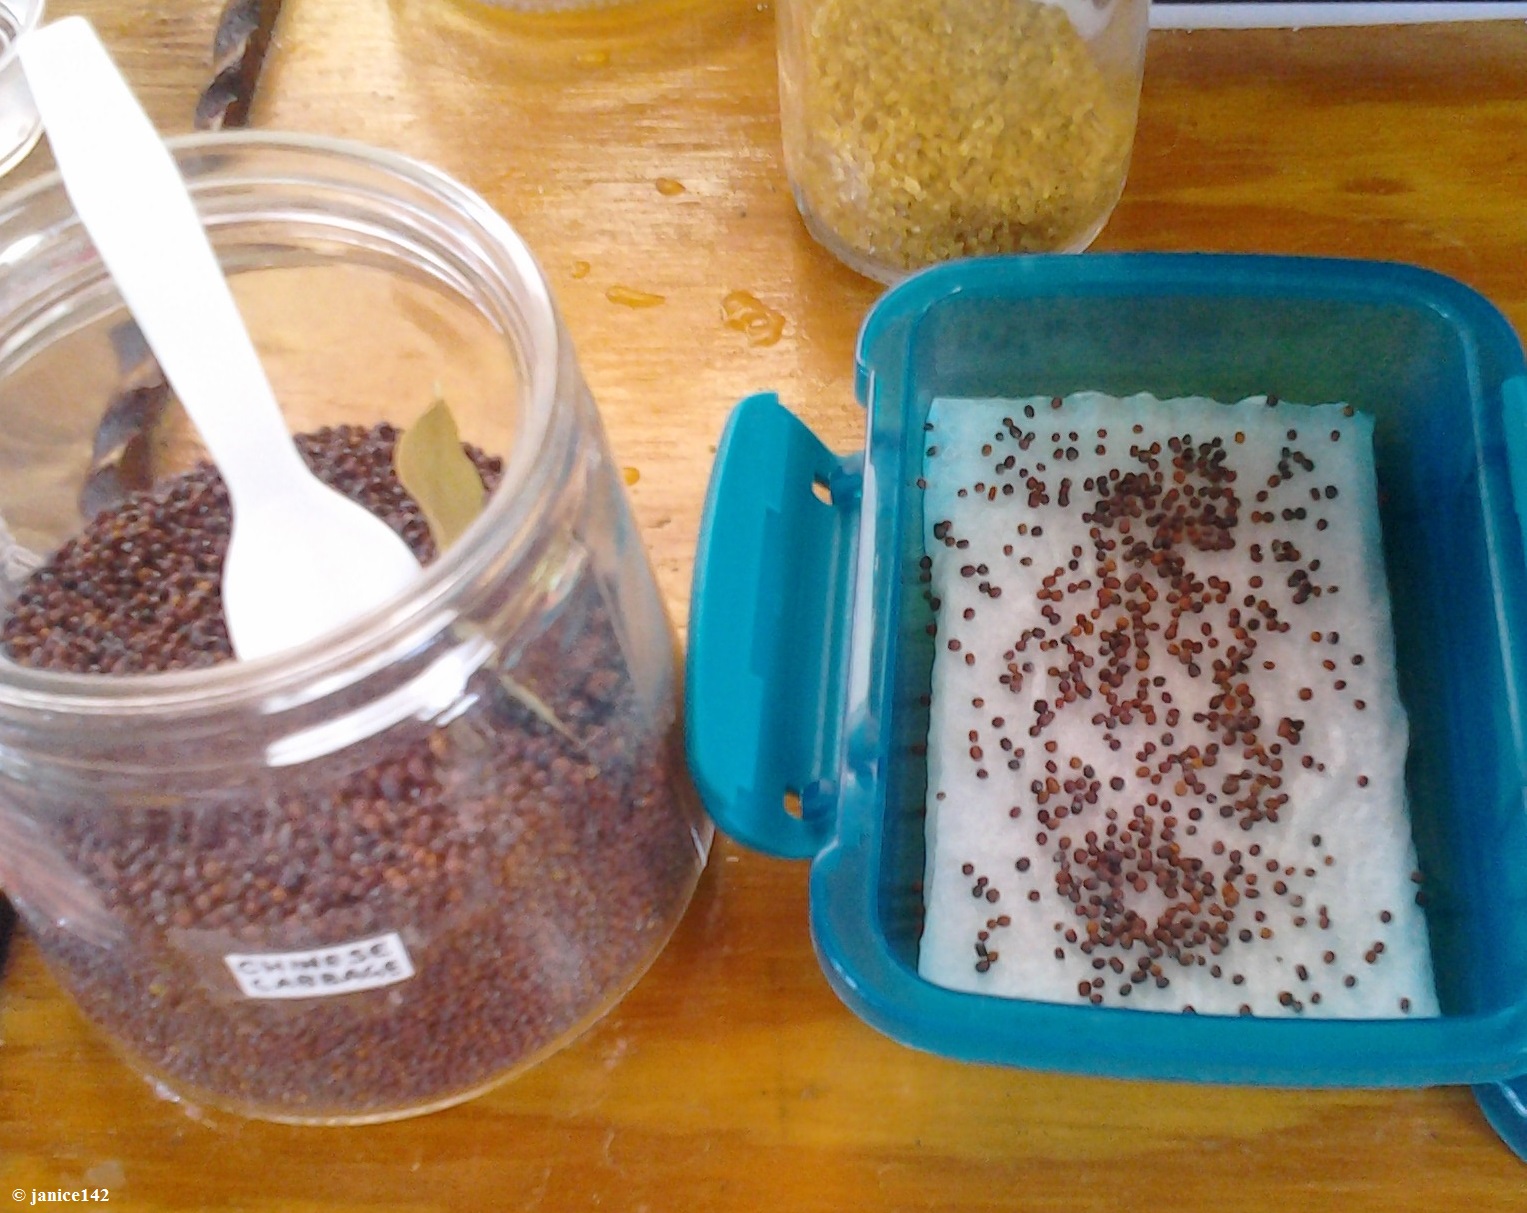
#2) Foam. I utilize the packing foam received when ordering online. I wrap the foam layer(s) in a paper towel. 1/4" thick is ideal. The foam floats, so even if I do over-water my seeds won't drown. The paper towel is my substitute for dirt.
#3) Dampen the paper towel with water. I add about one tablespoon of water to the soap box. If you believe you have too much water, simply tip the container on its side and pour out the excess.
#4) Spread 1/2 teaspoon of seeds on the wet paper towel. For a first timer, I suggest Kale. The kale seeds are larger than broccoli, cabbage or turnip. Truly, any of the fabulous four will grow for you. I promise!
Fabulous Four: broccoli, cabbage, kale and turnip. These four are my favorites because they are virtually fool-proof. Every crop grew and was delicious too.
Please buy the seeds I suggest, even if you do not like the full grown plant. Though I personally am not fond of kale and have never had a turnip I liked, as microgreens both are quite good.
#5) Cover the seeds with a piece of opaque plastic. I use a cut up plastic placemat. The seeds normally germinate/sprout in the dark under dirt. Plastic is your substitute for dirt.
#6) Flip up the latches on the side of the soap dish. Place the lid on top of the latches so the air can circulate. This forms a greenhouse effect for better plant growth.
#7) Add about a teaspoon of water twice a day. Seeds should sprout by day two or three. Leave them covered until the lid of your soap dish touched by the plants. Then tuck the lid and plastic underneath.
Side Note: There may be fuzz on the roots. That is perfectly okay. Those small hairs are a normal part of the plant growth. They are not mold and will disappear in a day or two.
From left to right, these microgreens are 4 days old, 2 days at the top center, and three days on the far right.
#8) Uncover the seedlings. When the seedlings are about an inch tall I take off the plastic and expose the plant to daylight. Though yellow, they will turn green within a few hours.
#9) When the microgreens are five to six days old they are ready for harvesting. I take scissors and cut just above the paper towels. Please note that seed casings are not hard and taste fine. I eat them.
The paper towel is thrown away. I wash and reuse the foam, wrapping it in a fresh paper towel before starting the whole growing process over again.
This is a special page created for the folks who wish to proceed with their own Victory Garden. I believe I have worked out all the kinks in the process and have had repeated success using the methods described in the series. Please reference Microgreens Aboard Seaweed (series) for full details. © 2020
Link to series:
http://janice142.com/Articles/MicrogreensAboardSeaweed.html
If you have any questions,
just ask. Email:
janice@janice142.com


