![]() Home
|
The Boat |
First Mate
|
Admiral |
Guestbook
Home
|
The Boat |
First Mate
|
Admiral |
Guestbook
Date: 8 February 2020. Microgreens Shopping List (part 1)
© janice142
|
For those that prefer everything on one page, this
is the link you want:
|
Aboard Seaweed I have been growing sprouts for many years. The 2013 article Growing Lentil Sprouts has details from the beginning stages. Like all things boat, I've made mistakes. Over the past year or so I've expanded my gardening efforts. Today I'll tell you how you too can grow good things to eat in a limited space, without dirt. Also, to get started will cost less than $10 total. This is my advice for the novice small-scale microgreen grower.
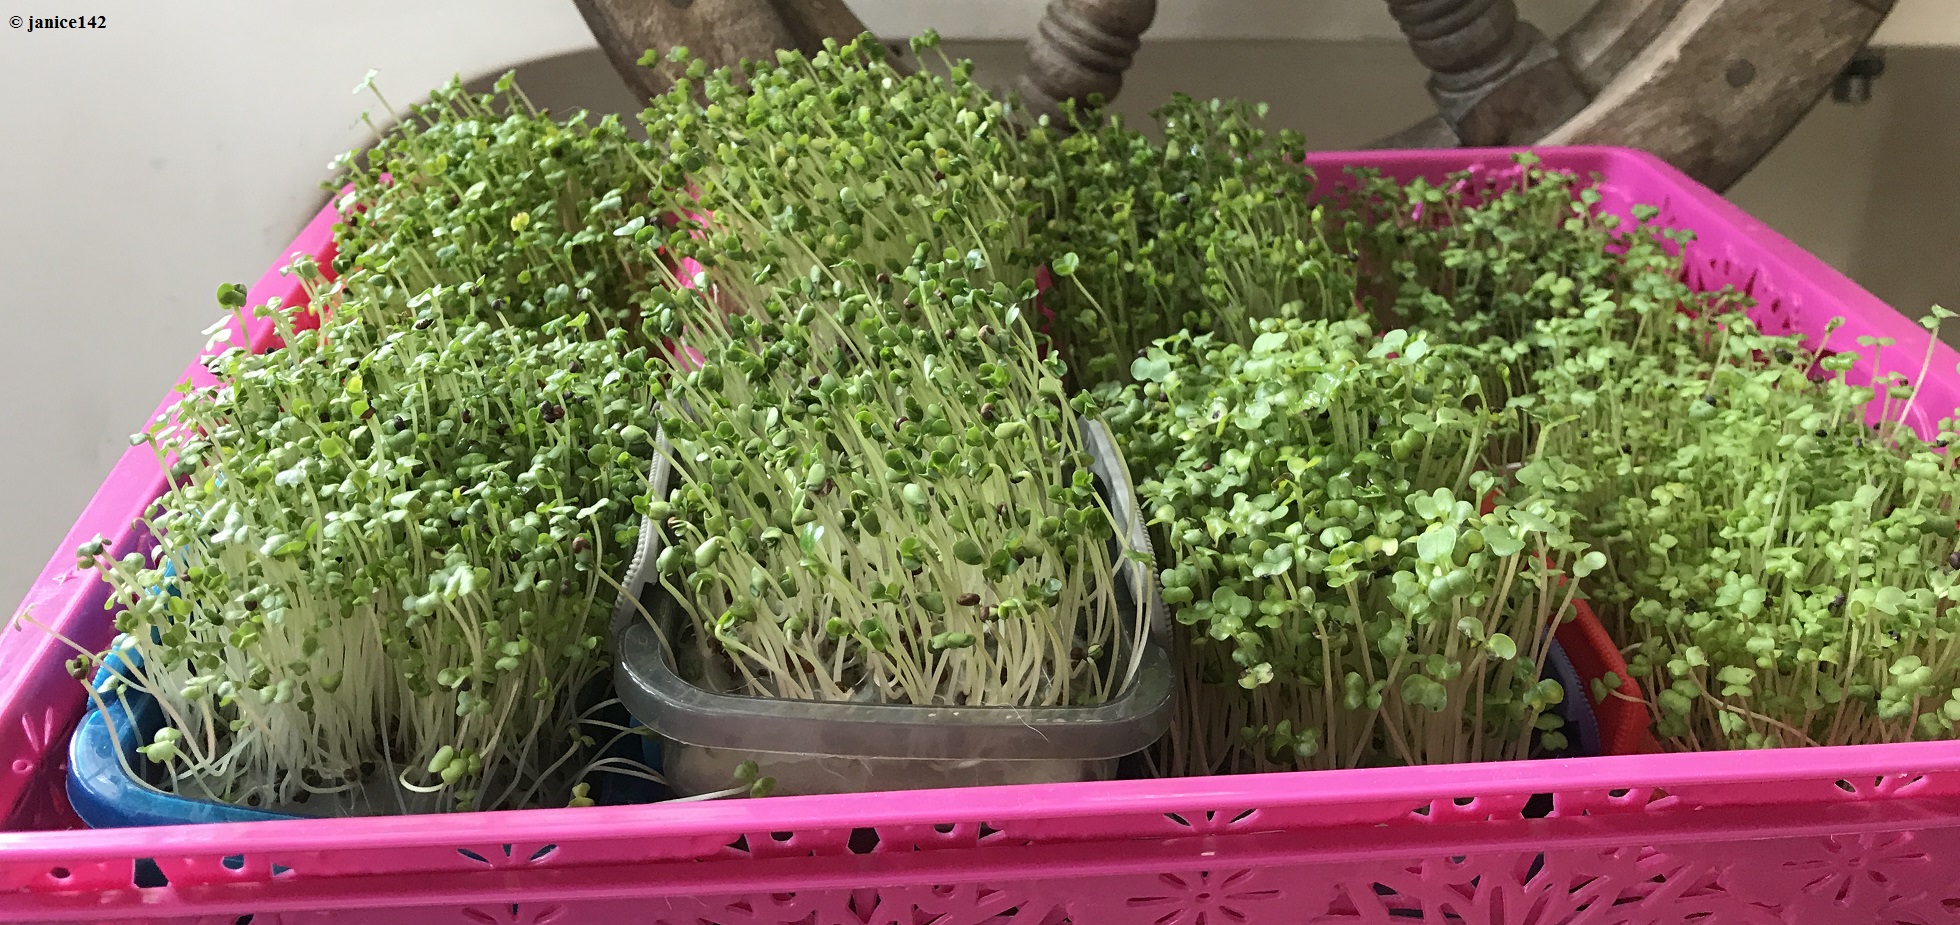
The Basics: In the life of a plant, seeds are the beginning stage. When seeds begin to grow they are called sprouts. The sprouts mature into microgreens. In other words, a microgreen is your plant as a baby. According to the folks who sell seeds, microgreens are nutrient dense. I like the flavors, and have been successfully growing them aboard Seaweed for well over a year.
Being able to enjoy a fresh salad every single day is a real blessing

I am not an expert. That said, I
have had quite a lot of success in growing yummy microgreens.
I prefer food with texture. Although my microgreens are not as crunchy as sprouts, I like the taste. Best of all, the cost is virtually negligible. I can and do have a fresh boat-grown salad every day.
The first thing to do is invest a bit of money for supplies. I am a soloist, therefore I grow in smaller containers than you might eventually opt for. My goal is to have a constantly maturing crop.
Free advice:
Start small-scale. If growing microgreens is for you, enlarging will
be easy.

At one time I used screen for part of the growing
set-up. That was supposed to enable me to remove the roots easily.
The screen was not a success in the long-term for my microgreen gardening efforts. Though great in theory, washing roots out of the screen used precious water. It was messy and did nothing to make the process of food growing more successful.
Two things were of primary importance:#1) It had to be easy. Certain seed varieties did not grow well for me.
#2) Low water use.Some microgreens and sprouts require a LOT of rinsing.
Because many of those living off the grid have limited access to fresh water, I am mindful of that potential complication. Water is a precious commodity even for those with watermakers.
For instance, clover is easy to grow in glass jars. The unfortunate part is that it takes a lot of water to rinse the shoots until the water runs clear. If you don't thoroughly rinse, the stuff will mold. Therefore I believe clover is not a viable option for many boaters.
Trust me on this: Microgreens are
Most Excellent.
|
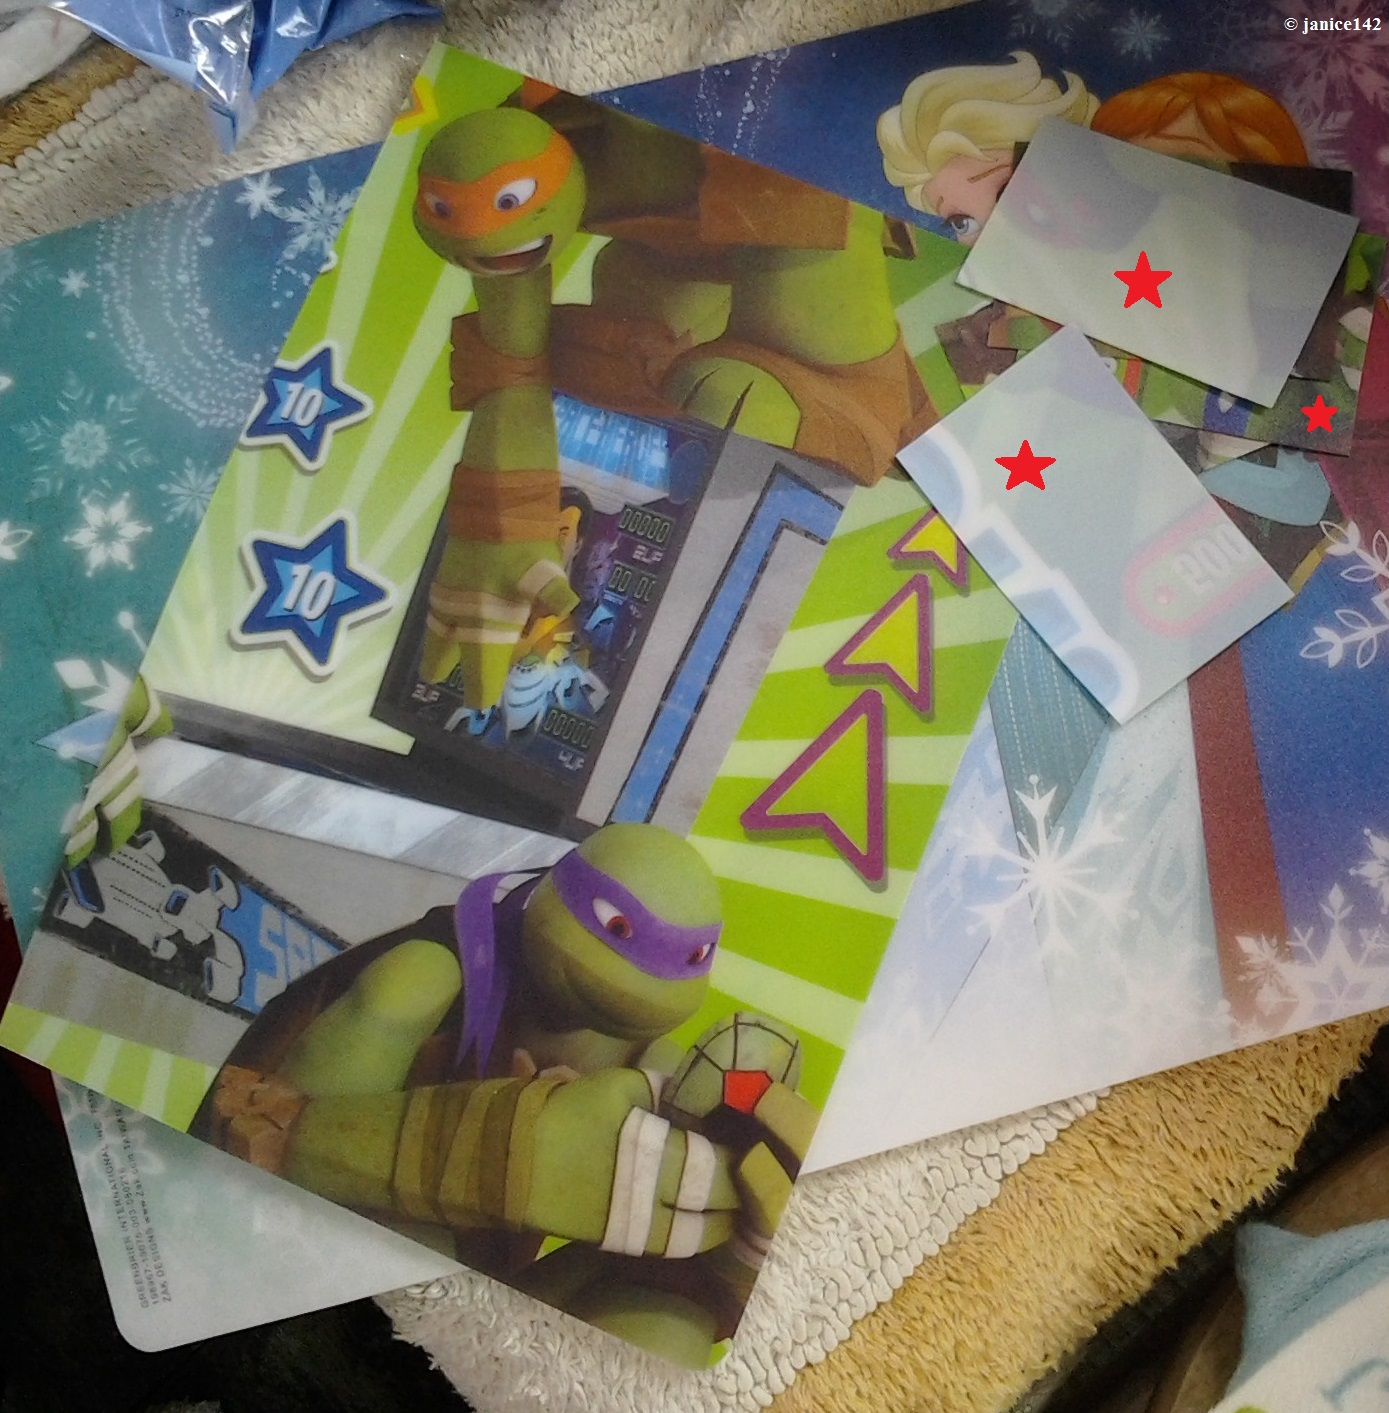
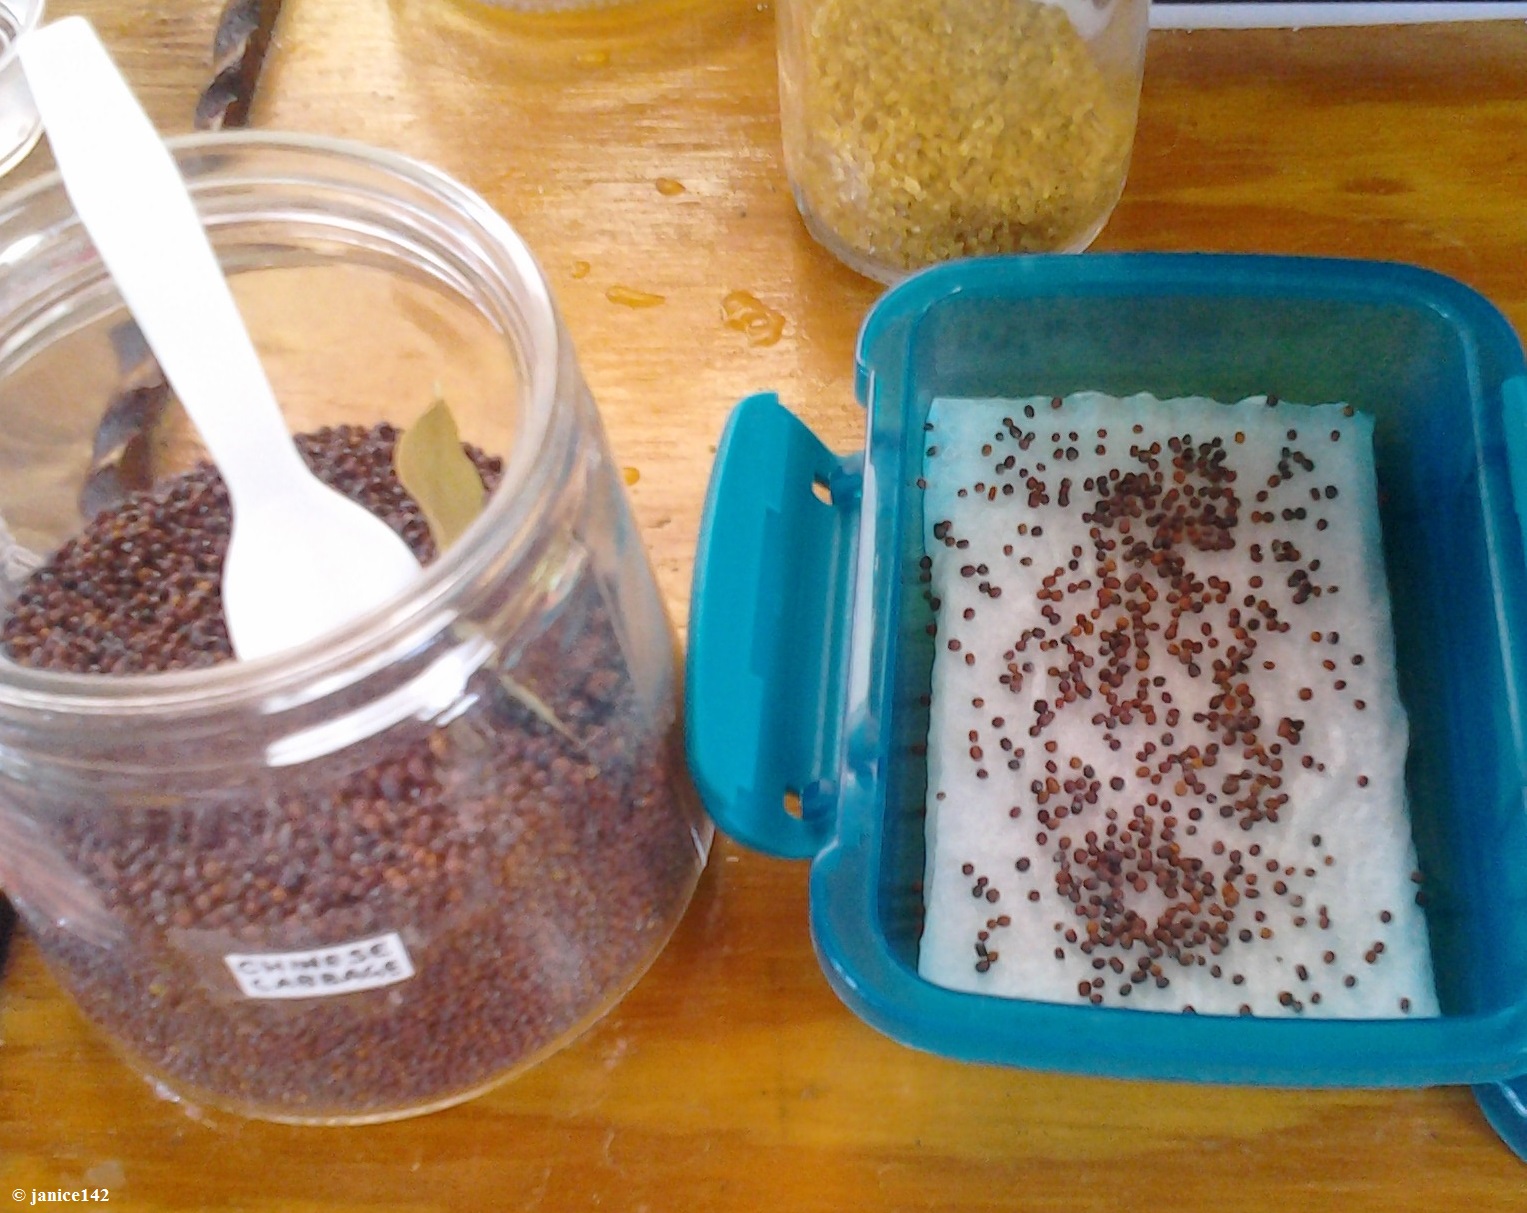
To Recap: Buy 8 or so travel size soap dishes. Find some foam. Though not Totally necessary, if you are like me and tend to over-water you will benefit from having foam. Have two or three inexpensive paper towels available. Buy or find opaque plastic to cover the seeds. Seeds to purchase: broccoli, cabbage, kale and turnip. |
The next in this series will
be posted shortly. Definition of shortly:
A day or three. Have I mentioned lately how glorious life aboard a
boat can be?!?
Thank you for reading.
Do you grow any plants aboard your boat?
If you have a garden, what are you having success growing?
|
Regarding the Comments Section, found at the end of every article:
|
COMMENTS:
© 2020, © 2023
Multimeter Improvement (clamps) ~
Previous Post ... ![]()
... Next Post
~
Microgreens Container Set-Up (part 2)
The Archive holds a running list with synopsis of published articles, and links to same.
Every gift helps.
The Cruising Kitty is what boaters refer to as spending money. There's never enough aboard Seaweed!
I am also an Amazon Affiliate.


